10 Essential Tips for Beautiful Black Dogs
Mar 12, 2020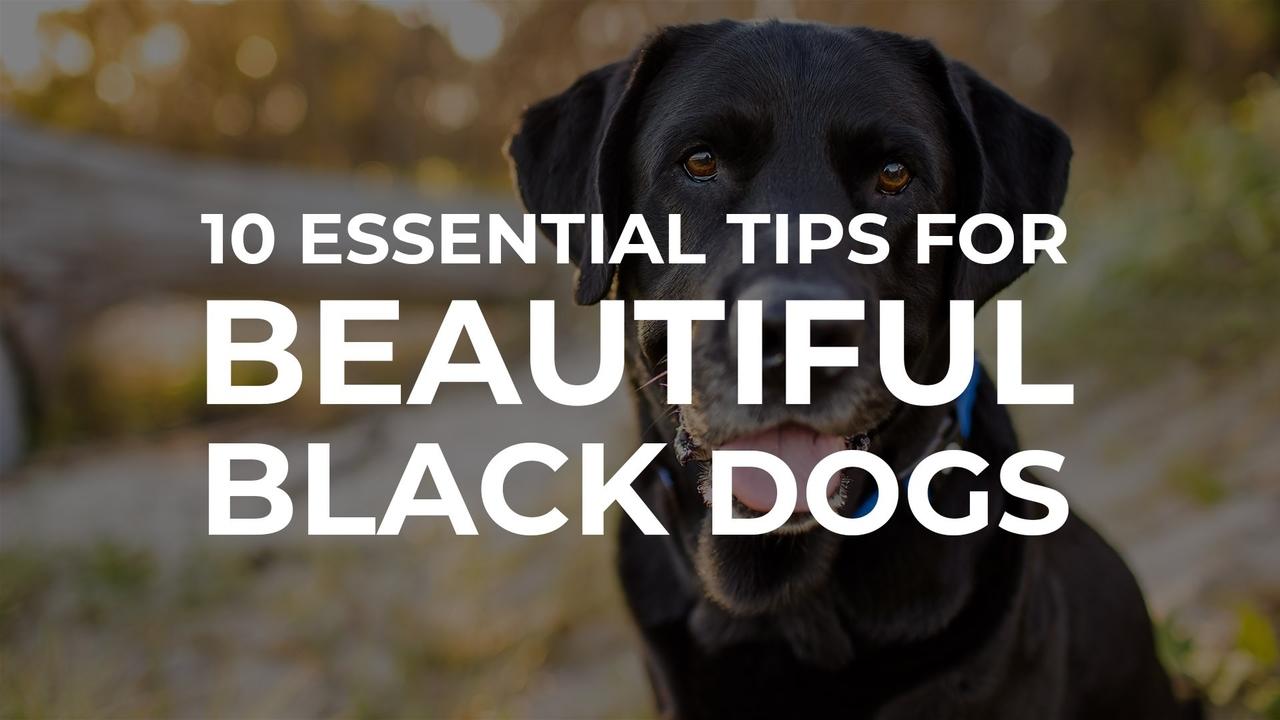
By Charlotte Reeves
Black dogs can look seriously stunning in photographs, however black is probably the most challenging of fur colours to capture.
When dog owners take photos of their black dogs with their phones, they're generally rendered as a featureless black blobs - so it's up to you as a pet photographer to show them you can capture their black dog in all their shiny dark glory!
First up - let's look at the science side of things - what actually is black?
The colour black isn’t technically a colour - it’s actually the visual appearance of something that has absorbed all (or most) of the visible light present in the environment. Instead of reflecting back a particular colour (say, red) to make the object appear red to your eyes, black objects soak up all the light and give back very little.
Issues with focusing and exposing for black dogs are common, and you'll often find, it all comes back to lighting. They really need to be well lit, so we can see the details in their black fur and so your camera can pick up on those details and do a better job at obtaining focus.
Dark locations, such as indoors, in deep shade or low light after sunset, are best avoided. Black dogs tend to absorb all the available light so it can be hard to see detail in their coats if they’re shot in dull, low contrast light.
Yup, it always starts with how you use and control light!
1. Shoot using manual exposure
Let's get the boring (but essential) tip out of the way first. You can skip this if you already shoot in manual!
I shoot in manual exposure mode about 99% of the time. One of the main reasons I do this is that dogs have many different fur colours which can confuse the camera’s light meter and result in poor exposure choices. The camera’s light meter likes to make everything medium grey, so filling the frame with black dog will often result in a grey dog (overexposure). Point it at a white dog - and again - grey dog (underexposure).
When shooting in an automatic exposure mode such as Aperture Priority, dialling in some exposure compensation can help. This allows you to under or overexpose depending on the coloured dog you are photographing.
But what if you’re photographing a black dog and a white dog in the same session? Or what if the dog is partly white and partly black?
Add into the mix some challenging, mixed lighting (especially backlighting) and you’ll end up with all kinds of unexpected exposure results. Often the camera will change it’s mind between consecutive shots too, so you’ll end up with a sequence of images of all different exposures - an editing nightmare!
Using manual exposure mode allows you to take control of how the camera captures the scene.
It can be helpful to use the light meter as a guide to get a starting point though. I've found the best metering modes are Evaluative or Centre Weighted Average, but really, anything other than Spot Metering will give you a good enough starting point.
When shooting, always refer to the back of your camera to check the results. Enable the histogram to ensure you have a good balance between detail in the shadows and highlights of your image.
When capturing black dogs, you should be aiming to expose so you are getting detail in all the black areas, while not rendering the rest of the image too bright. Your exposures will be directly related to how you use the light though, so let's look at that next.
2. Full sun is a guaranteed winner
Shooting with full sun is one foolproof lighting method for black dogs as it floods them with high contrast light. The hard light of a bright sunny day brings out the contrast between the shadows and the specular highlights of a shiny coat - picks up all the detail and shine.
But, it's best if the sun is low in the sky. Overhead light is never great, so aim to shoot when the sun is low in the sky, either first thing in the morning, or late afternoon.
The light needs to be fully illuminating the dog.
You'll need to get down to a very low angle to minimise the shadow you cast - and preferably shoot with a long lens rather than a wide angle.
If your shadow is still visible on the ground in the foreground, it's usually easy enough to edit it out afterwards - just as long as the shadow isn't on the dog itself.

Canon EOS 1D X, Canon EF 70-200mm f/2.8L IS II USM @ 125mm, ISO 100, 1/1250 sec, f2.8
3. Watch the direction of the light
The direction of the light is the key point - when shooting with full sun, ensure the sun is low in the sky and at your back (it can be just over one shoulder, but definitely not too far off to the side). This helps you avoid deep, dark shadows and blown-out highlights.
While shooting with the sun behind you is ideal, you may sometimes have to compromise a little if the location doesn't make it easy to get the perfect angle.
If you must shoot with side light (with the sun coming from the left or right of the dog) at least face the dog so they're looking towards the direction of light.
This will help keep the lighting on the dog's face even.

Canon EOS 1D X, Canon EOS 100mm f/2.8L Macro IS, ISO 200, 1/1000 sec, f/2.8
4. Embrace soft light
The other end of the scale from harsh light, soft light can also work for black dogs.
The secret to making soft light work for you is to ensure it is bright enough. Soft, low intensity light won't show up those all-important details in their coat, whereas soft bright light will.
Cloudy skies act as a diffuser, softening the light, but in the process, cut the intensity of the light to make it less bright. Light clouds are better as they soften the light without reducing the brightness too much. If you're shooting under cloud, face the dog towards the sun, even if it's not visible, as the sky will be brighter in that area.

Canon EOS 1D X Mark II,Canon EF 70-200mm f/2.8L IS II USM @ 90mm, ISO 1250, 1/500 sec, ƒ/2.8
If it's cloudy, steer clear of shade. The intensity of the light will be being reduced twice - once by being diffused through the clouds, and again when blocked by a source of shade. If it's cloudy, stick to open areas.
Open shade will give you soft light. My favourite type of open shade is building shade. The cleanest and brightest building shade to work with is on the opposite side of the building to where full sun is striking. The shadow cast from the building wall blocks the harsh intensity of the full sun, but means the subject can be placed in an area with clear open sky above. The light source becomes the open sky, which makes the light soft. The more open sky visible from where the subject is, the softer the light.

Canon EOS 1D X Mark II, Canon EF 70-200mm ƒ/2.8L IS II @ 95mm, ISO 1600, 1/640 sec, ƒ/2.8
Twilight, after the sun sets, will also give you soft light. Shoot very quickly after the sun has set to ensure the light is bright enough, and face the dog towards the brightest area of sky - where the sun has just disappeared.

Canon EOS 1D X Mark II, Canon EF 16-35mm ƒ/4L IS @ 16mm, ISO 1250, 1/500 sec, ƒ/4
5. Blast them with backlight
One of the benefits of photographing furry black dogs is you can blast them with backlight, without having to deal with clipped highlights around the edges of their fur.
With white or light coloured dogs, especially furry ones, you really need to filter the sunshine through some bushes or low trees to reduce the intensity of light falling on the back of them. But black dogs can take quite a bit more light on their black fur before blowing out, so providing it's late in the day and the light is coming from a very low angle, you might not need to filter the backlight as much.
It is still important however to make sure you’re counterbalancing the backlight with enough light on the shaded side of the dog - ambient light from a big open sky is perfect - just make sure there are no sources of shade over or in front of the dog. Access to wide open sky above will give you the best results. In this image, you can see the big wide blue open sky behind me reflected in the dog's eyes!

Canon EOS 1D X, Canon EOS 24-70mm f/2.8L II @ 61mm, ISO 500, 1/500 sec, f/2.8
6. Balance the backlight
Whatever your surroundings, when backlighting black dogs it is absolutely essential to balance the light coming from behind them (full sun, maybe filtered), with the light falling onto the front of them (ambient light).
Avoid positioning your subject under trees or even near shaded areas as this can drastically cut down the light that illuminates their face, head and the front of their body. Instead, make sure the sun is low in the sky behind them and place them in an area where there is open sky above. The open sky acts as a giant light source, bathing them in soft light and bringing out the detail in their black fur.
Even though it may not look like it, in the shot below Ben was positioned out in an open playing field with clear sky above and all around him. The ambient light from the sky was enough to balance the light filtering through the trees in the background. The use of a longer focal length (135mm) makes the background appear closer than it was.

Canon EOS 1D X, Canon EF 135mm f2L, ISO 400, 1/500 sec, f2
7. Don't forget those catchlights
Black dogs often have very dark eyes that without good lighting, can tend to disappear into fathomless dark pits with no detail. Catchlights are essential. To ensure you get catchlights in the dog’s eyes, once again, it's all about the light.
Just make sure they are facing or looking upwards towards a light source. This can be full sun, or an area of wide open sky if you are shooting in cloudy weather or in the shade.

Canon EOS 1D X Mark II, Canon EF 35mm ƒ/1.4L II, ISO 500, 1/640 sec, f/2
For black dogs with hairy faces, particularly around their eyes, you need to work twice as hard to get those catchlights. Smoothing back their hair can work, but if that's not possible, sitting them down and facing them upwards towards a cloudy sky or a clear sky if they're in the shade, works wonders.

Canon EOS 1D X Mark II, Canon EF 35mm ƒ/1.4L II, ISO 500, 1/800 sec, f/2
8. Watch for colour casts
Pure black is actually a pretty rare and amazing thing, but in the case of animal fur, it’s never usually completely pure. Often there will be a slight colour present in the fur - reddish-brown - maybe magenta or blue.
Things start to get really tricky when we expose our subjects to different types of lighting. All colours of fur pick up colour casts from their surroundings, but with black fur (and also white, another “not real” colour) the colour casts tend to be more noticeable.
We have a clear picture in our minds of what black should look like, so it’s much more obvious when there is a colour cast present.
The most common issue I see with black dogs is when they’ve been photographed in the shade and end up looking very blue and/or magenta.

When I edited this image, in addition to warming up the colour temperature, I made sure I reduced the blue and magenta casts present in the black fur to make it less distracting.

Canon EOS 1D X, Canon EF 35mm ƒ/1.4L, ISO 320, 1/500 sec, f/2
It's important not to remove all the colour from the dog's black fur as this looks strange as well! It’s natural for a black dog to pick up some colours from their surroundings, but it shouldn’t be overly noticeable. The dog should still look black, but retain lots of textural detail in their fur.
The aim is to reduce the distracting appearance of colour casts by toning them down, not by removing them completely.
9. Make black dogs look black!
This is another tip that's more focused on editing, but it's a very useful one!
Often when editing our images, we're working on increasing the dynamic range of the shot by bringing out more detail and tone in the shadows and reigning in any out-of-control highlights. This becomes a problem when you're dealing with a black dog however, because black dogs are, in essence, shadows! Essentially, they are composed of dark areas of tone.
One of the editing mistakes I see so often is when photographers have captured the dog in low contrast light, or underexposed the image, then have "filled" the shadows - usually by taking the Shadows slider in Lightroom to the right. This works perfectly to lighten those pesky shadows, but since dogs are shadow, they end up looking grey instead of black, even when balancing out the Shadow adjustment by taking the Blacks slider down.


There is a way to fix this though - by using the magical Darks slider. Under the Tone Curve you'll find a set of sliders that look similar to the basic adjustment sliders. I've found that the Darks slider, taken to the left, brings contrast back into dark areas, without sacrificing that hard-won shadow detail.


Canon EOS 1D X, Canon EF 24-70mm f/2.8L II @ 63mm, ISO 400, 1/800 sec, f/2.8
10. Embrace the black
Embrace the black - black dogs are absolutely perfect subjects for shooting silhouettes!
Because they are already so dark, there is a greater exposure difference between them and the sky already so there isn’t as much need to underexpose the shot to make them truly black.
Short haired black dogs (as opposed to long haired light dogs) are SO much easier when it comes to silhouetting - give it a try! Just make sure the dog is completely outlined against something MUCH brighter. Usually the sky, but in the case of this shot, the sky and reflective still water.

Canon EOS 1D X, Canon EF 70-200mm f/2.8L IS II @ 70mm, ISO 100, 1/1000 sec, f/4
But what about black and white dogs?
Once again, it's all about how you use the light.
Since black and white fur presents so much contrast, it’s even more important to keep the lighting even - which means keeping the main light source directly behind you as you shoot.
Side lighting will only increase the contrast further and make it impossible to maintain detail in both the white and black areas. Full sun will work, as will backlight, or shade/cloud - just as long as you keep the source of light at your back.
Underexposing slightly to maintain detail in the highlights, then editing to pull details back into the darker areas, works well for black and white dogs.

Canon EOS 1D X, Canon EF 135mm f2L, ISO 320, 1/1000 sec, f2
It really is all about how you use the light...
Whatever topic I am teaching in pet photography nearly always comes back to understanding and using natural light. Understanding how light works is essential knowledge and can help you get better exposures, enhance the look of your subject, help you decide where to shoot next and also speed up your editing process.
My course Working with Natural Light is guaranteed to make you a better photographer, by equipping you with a comprehensive knowledge of how to create amazing images in any type of light mother nature throws at you!
"Charlotte breaks down lighting in a way that is clear for all to understand and go out and put into practice. Understanding the light is not easy at first and help from Charlotte in her courses makes it a mystery no longer!" - Di
"This course was succinct with clear explanations and fantastic examples on how to use natural light to the best advantage and tips on how to deal with less desirable situations... would totally recommend to anyone wanting to create the most beautiful images possible using only natural light. Thank you Charlotte!" - Niki
Start your pet photography journey with 100 free daily tips!
That's over 3 months worth of daily tips covering topics like working with light, obtaining expression, camera settings, shooting action, composition, using the location, dog handling tricks – and so much more. Delivered direct to your inbox so you can read and absorb straight away (no homework required).
We hate SPAM. We will never sell your information, for any reason.